Automations
The Automations page (sidebar > Automations) runs inference tasks on a schedule, with no one at the keyboard: a daily summary of a folder of documents, an hourly status check against a URL, a weekly report draft. Each automation pairs a model (and optionally an agent) with a prompt template, an input source, and an output action.
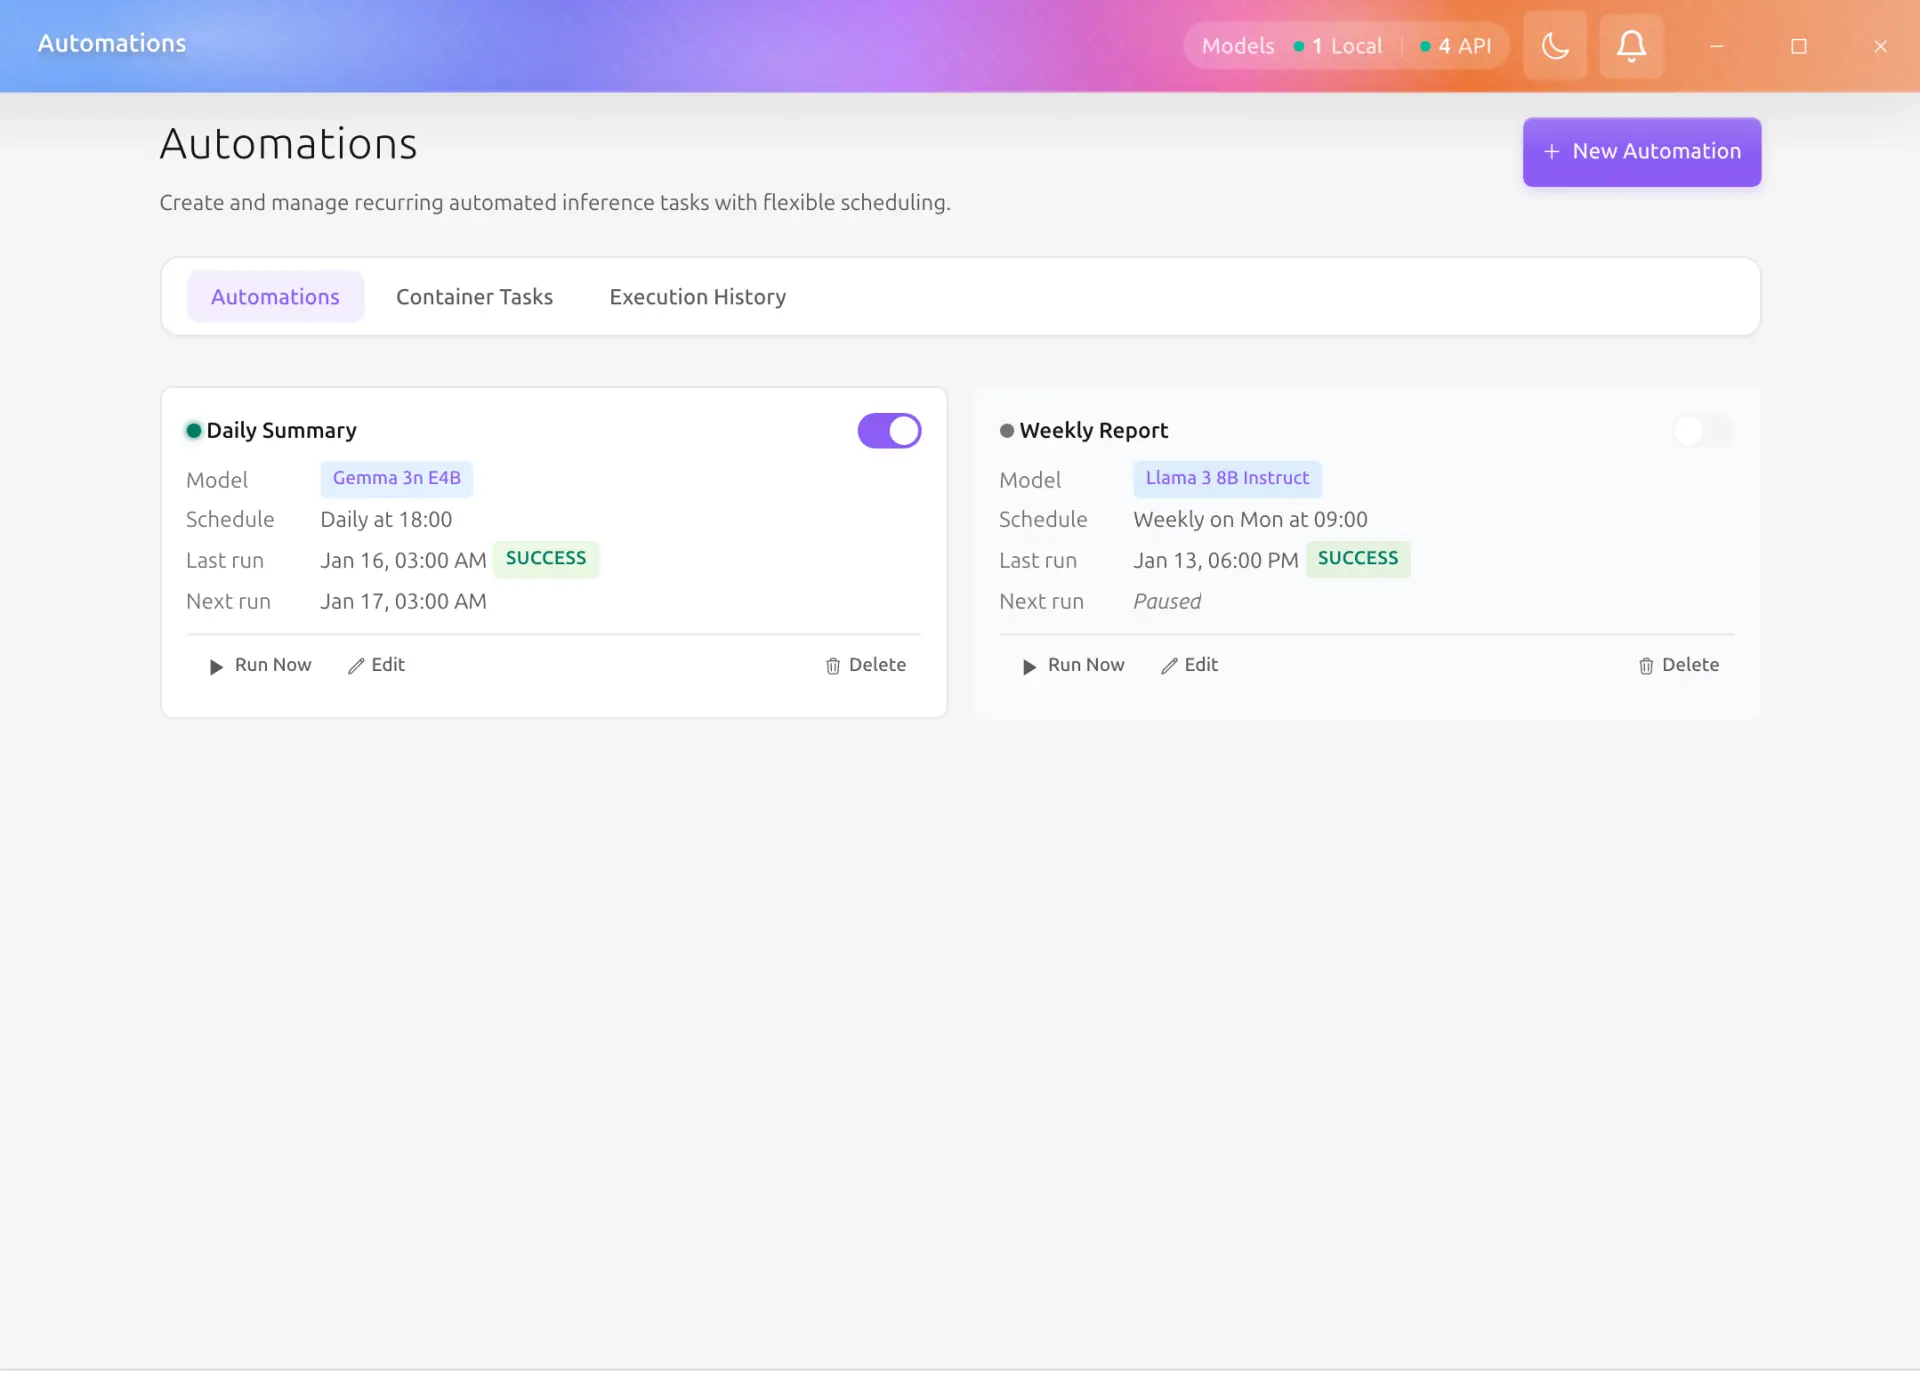
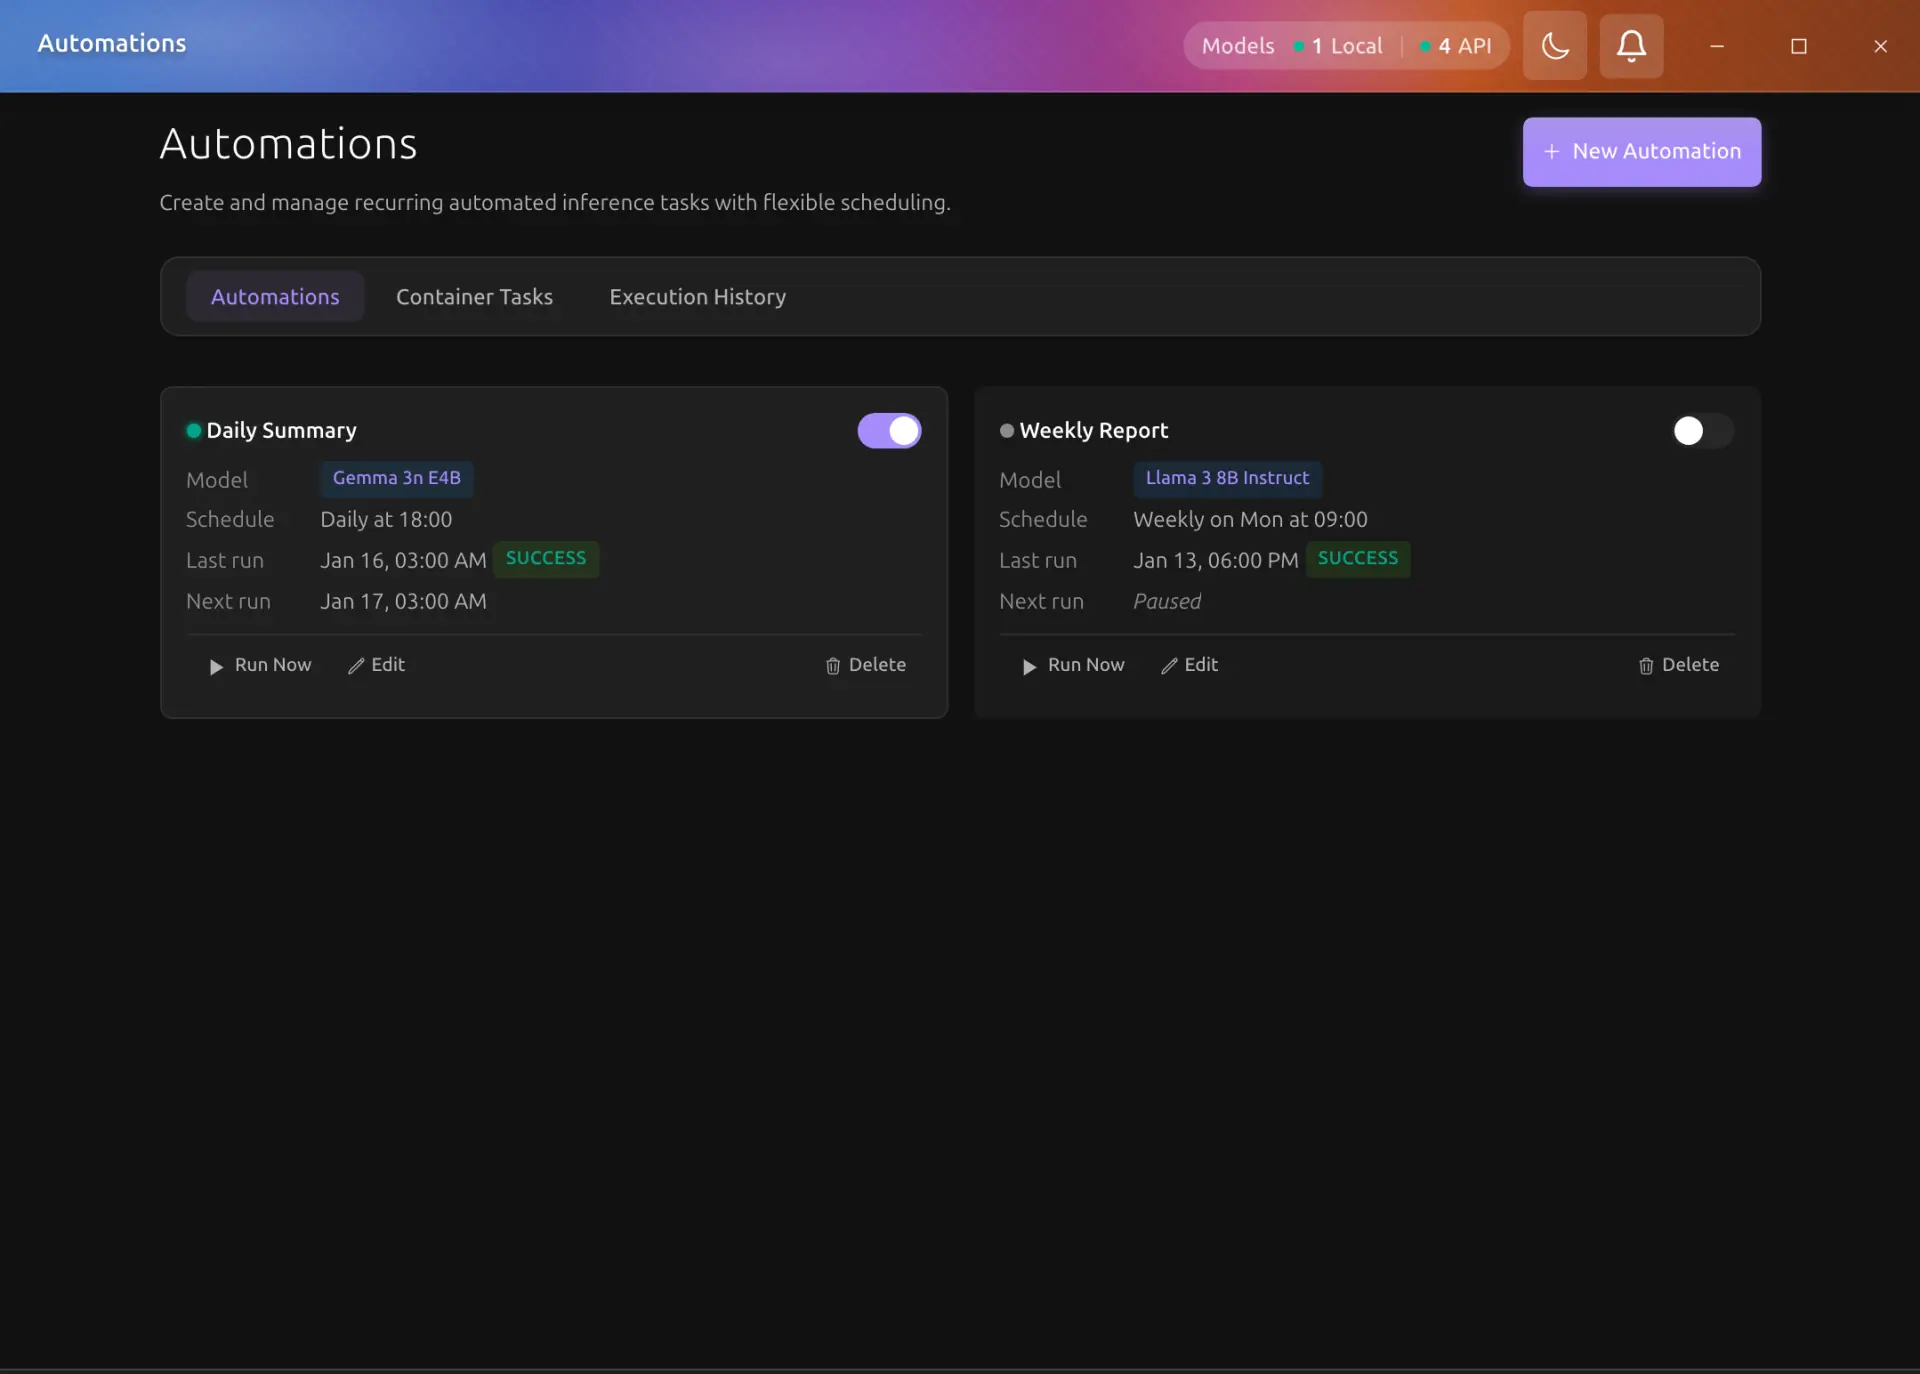
The page has three tabs: Automations (the list), Container Tasks, and Execution History. Container Tasks shows scheduled jobs that run inside containers; see Container Task Scheduling.
Creating an Automation
Click New Automation and fill in the form:
- Basic Info: A name (e.g., "Daily summary", "Hourly check").
- Schedule: Pick a frequency preset (every 15 or 30 minutes, hourly, daily, weekly) or write a cron expression directly; the expression is validated as you type. The timezone uses IANA names (e.g.,
Asia/Seoul,America/New_York). - Model & Agent: Choose the model that runs the task; the list mixes local model files with the models your registered providers serve. An automation stores a provider model by its model id alone, so a model served by more than one provider appears once in the list and the router picks a provider for each run, moving to another one when the first is unavailable. That is what an unattended run wants, since nobody is at the keyboard to retry a provider that is down. The Agent field defaults to None (direct inference), which sends the prompt straight to the model; selecting an agent profile runs the task through that agent instead. Three toggles control the model lifecycle:
- Auto-load model before execution: load the model if it is not already in memory.
- Unload model after execution: free the memory once the run finishes.
- Catch up missed executions on startup: if the app was closed at the scheduled time, run once at the next launch.
- Tools: Select which tools the model may call during the scheduled run. With no tools selected, tool calling is disabled for the run. The selection is an allowlist, enforced when the tool is about to run and not only when the tool list is offered to the model: a model that names a tool outside the selection gets a refusal back and continues without it. Per-tool permission overrides in the same section apply too, and fall back to the selected agent profile's permissions when the automation sets none of its own. Because an automation runs unattended, a tool marked Ask once or Ask every time is refused rather than held waiting for an approval nobody is there to give; mark a tool Always allow if the automation needs it.
-
Input Source: Optional external data injected into the prompt as
{{input}}:- None: no external input.
- File: the content of a file path.
- Directory (glob): files matching a glob pattern (e.g.,
/data/docs/*.txt). - URL (HTTP GET): the response body of a URL.
- Shell Command: the output of a command.
Shell commands
Shell commands run with the app's permissions. Only use commands you trust.
-
Prompt: An optional system prompt plus the prompt template sent to the model.
- Output Action: What happens to the result:
- Store in history only: visible in Execution History.
- Save to file: written into a directory you choose.
- Desktop notification: shown as an OS notification (the form requests notification permission if not yet granted).
- Webhook (HTTP POST): posted to a URL.
- Parameters: Generation settings for the run, including temperature (0 to 2) and max tokens.
Template Variables
The prompt template (and system prompt) can include variables that are resolved at run time:
| Variable | Resolves to |
|---|---|
{{input}} | Data from the input source |
{{date}} | Current date (YYYY-MM-DD) |
{{time}} | Current time (HH:MM:SS) |
{{datetime}} | Full ISO 8601 timestamp |
{{prev_result}} | Result of the previous execution |
{{file:/path/to/file}} | Inline file content (up to 100 KB) |
{{env:VAR_NAME}} | Environment variable value (known sensitive variable names are blocked) |
Managing Automations
Each automation card shows the model, the schedule in plain words (e.g., "Daily at 09:00"), the last run result, and the next run time. From the card you can:
- Toggle between Active and Paused without deleting the automation.
- Run Now to trigger an immediate execution outside the schedule.
- Edit the configuration.
- Delete the automation. This also removes its execution history; a confirmation dialog asks before proceeding.
Desktop notifications announce when a run starts, completes (with its duration), or fails.
Execution History
The Execution History tab lists every run with its automation name, status, start time, duration, and result. Filter by automation, status, or date range, and open a run to inspect its full result or error.
Automating from the API or the CLI
Everything on this page is also reachable without the app. The /schedules and /executions endpoints are documented in the Automations API reference, and aigo schedule wraps them from the terminal (see the CLI reference). Both can also export an automation to a file and import it on another machine.
One caution carries over from there: an export document holds webhook URLs and shell command lines in the clear, and an imported automation arrives enabled. Read the API reference's export warning before mailing one of those files around.